If you want to test your app in the IOS simulator, all you need is to open the root folder of your app in terminal and run −
react-native run-ios
The above command will start the simulator and run the app.
We can also specify the device we want to use.
react-native run-ios --simulator "iPhone 5s
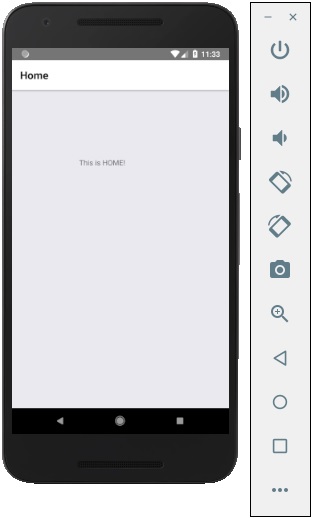
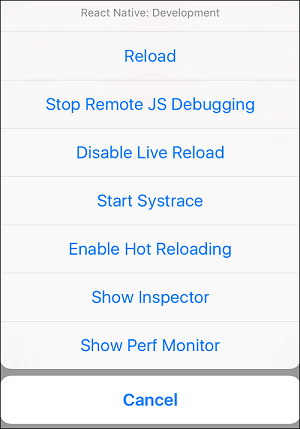
After you open the app in simulator, you can press command + D on IOS to open the developers menu. You can check more about this in our debugging chapter.
You can also reload the IOS simulator by pressing command + R.
In this chapter, we will understand navigation in React Native.
Step 1: Install Router
To begin with, we need to install the Router. We will use the React Native Router Flux in this chapter. You can run the following command in terminal, from the project folder.
npm i react-native-router-flux --save
Step 2: Entire Application
Since we want our router to handle the entire application, we will add it in index.ios.js. For Android, you can do the same in index.android.js.
App.js
import React, { Component } from 'react';
import { AppRegistry, View } from 'react-native';
import Routes from './Routes.js'
class reactTutorialApp extends Component {
render() {
Explore our latest online courses and learn new skills at your own pace. Enroll and become a certified expert to boost your career.
Step 3: Add Router
Now we will create the Routes component inside the components folder. It will return Router with several scenes. Each scene will need key, component and title. Router uses the key property to switch between scenes, component will be rendered on screen and the title will be shown in the navigation bar. We can also set the initial property to the scene that is to be rendered initially.
Routes.js
import React from 'react'
import { Router, Scene } from 'react-native-router-flux'
import Home from './Home.js'
import About from './About.js'
const Routes = () => (
<Router>
We already have the Home component from previous chapters; now, we need to add the About component. We will add the goToAbout and the goToHome functions to switch between scenes.
Home.js
import React from 'react'
import { TouchableOpacity, Text } from 'react-native';
import { Actions } from 'react-native-router-flux';
const Home = () => {
const goToAbout = () => {
In this chapter, we will show you how to use LayoutAnimation in React Native.
Animations Component
We will set myStyle as a property of the state. This property is used for styling an element inside PresentationalAnimationComponent.
We will also create two functions − expandElement and collapseElement. These functions will update values from the state. The first one will use the spring preset animation while the second one will have the linear preset. We will pass these as props too. The Expand and the Collapse buttons call the expandElement() and collapseElement() functions.
In this example, we will dynamically change the width and the height of the box. Since the Home component will be the same, we will only change the Animations component.
App.js
import React, { Component } from 'react'
import { View, StyleSheet, Animated, TouchableOpacity } from 'react-native'
class Animations extends Component {
componentWillMount = () => {
this.animatedWidth = new Animated.Value(50)
this.animatedHeight = new Animated.Value(100)
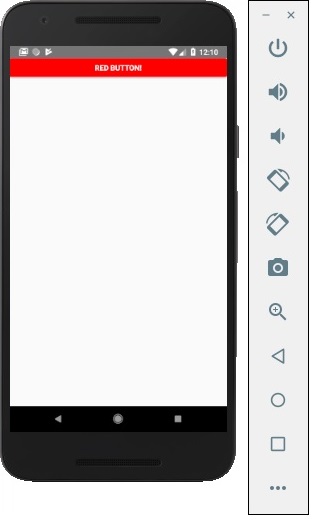
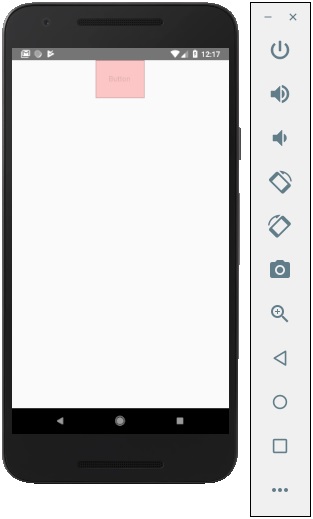
In this chapter, we will show you touchable components in react Native. We call them ‘touchable’ because they offer built in animations and we can use the onPress prop for handling touch event.
Facebook offers the Button component, which can be used as a generic button. Consider the following example to understand the same.
In this chapter, we will show you how to use fetch for handling network requests.
App.js
import React from 'react';
import HttpExample from './http_example.js'

const App = () => {
   return (
  <HttpExample />   )
}
export default App
Using Fetch
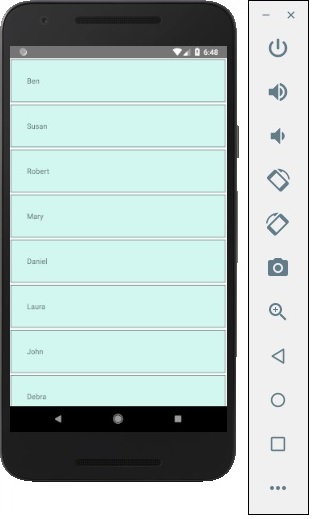
We will use the componentDidMount lifecycle method to load the data from server as soon as the component is mounted. This function will send GET request to the server, return JSON data, log output to console and update our state.
http_example.js
import React, { Component } from 'react'
import { View, Text } from 'react-native'
class HttpExample extends Component {
state = {
React Native offers a way to optimize images for different devices using @2x, @3x suffix. The app will load only the image necessary for particular screen density.
The following will be the names of the image inside the img folder.
In this chapter, we will show you how to work with TextInput elements in React Native.
The Home component will import and render inputs.
App.js
import React from 'react';
import Inputs from './inputs.js'

const App = () => {
   return (
  <Inputs />   )
}
export default App
Inputs
We will define the initial state.
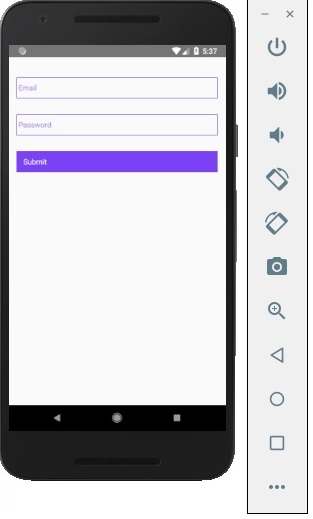
After defining the initial state, we will create the handleEmail and the handlePassword functions. These functions are used for updating state.
The login() function will just alert the current value of the state.
We will also add some other properties to text inputs to disable auto capitalisation, remove the bottom border on Android devices and set a placeholder.
Explore our latest online courses and learn new skills at your own pace. Enroll and become a certified expert to boost your career.
inputs.js
import React, { Component } from 'react'
import { View, Text, TouchableOpacity, TextInput, StyleSheet } from 'react-native'
class Inputs extends Component {
state = {
Whenever we type in one of the input fields, the state will be updated. When we click on the Submit button, text from inputs will be shown inside the dialog box.
Whenever we type in one of the input fields, the state will be updated. When we click on the Submit button, text from inputs will be shown inside the dialog box.