Zooming is the process of enlarging an image so that the details in the image become more visible and prominent.
We use OpenCV function resize to apply zooming to images. It can be found under Imgproc package. Its syntax is given below −
Imgproc.resize(source,destination, destination.size(),zoomFactor,zoomFactor,Interpolation);
In the resize function, we pass source image, destination image and its size, zooming factor, and the interpolation method to use.
The interpolation methods available are described below −
| Sr.No. | Interpolation method & Description |
|---|---|
| 1 | INTER_NEARESTIt is nearest-neighbour interpolation. |
| 2 | INTER_LINEARIt is bilinear interpolation (used by default). |
| 3 | INTER_AREAIt is resampling using pixel area relation. It may be a preferred method for image decimation, as it gives more-free results. |
| 4 | INTER_CUBICIt is a bi-cubic interpolation over 4×4 pixel neighbourhood. |
| 5 | INTER_LANCZOS4It is a Lanczos interpolation over 8×8 pixel neighbourhood. |
Apart from the resize method, there are other methods provided by the Imgproc class. They are described briefly −
| Sr.No. | Method & Description |
|---|---|
| 1 | cvtColor(Mat src, Mat dst, int code, int dstCn)It converts an image from one color space to another. |
| 2 | dilate(Mat src, Mat dst, Mat kernel)It dilates an image by using a specific structuring element. |
| 3 | equalizeHist(Mat src, Mat dst)It equalizes the histogram of a grayscale image. |
| 4 | filter2D(Mat src, Mat dst, int ddepth, Mat kernel, Point anchor, double delta)It convolves an image with the kernel. |
| 5 | GaussianBlur(Mat src, Mat dst, Size ksize, double sigmaX)It blurs an image using a Gaussian filter. |
| 6 | integral(Mat src, Mat sum)It calculates the integral of an image. |
Example
The following example demonstrates the use of Imgproc class to apply zooming to an image.
import org.opencv.core.Core;
import org.opencv.core.Mat;

import org.opencv.highgui.Highgui;
import org.opencv.imgproc.Imgproc;

public class Main {
   public static void main( String[] args ) {

  try {
     int zoomingFactor = 2;
     System.loadLibrary( Core.NATIVE_LIBRARY_NAME );

     Mat source = Highgui.imread("image.jpg", Highgui.CV_LOAD_IMAGE_GRAYSCALE);
     Mat destination = new Mat(source.rows() * zoomingFactor, source.cols()*  zoomingFactor,source.type());

     Imgproc.resize(source, destination, destination.size(),  zoomingFactor,zoomingFactor,Imgproc.INTER_NEAREST);
     Highgui.imwrite("zoomed.jpg", destination);

  } catch (Exception e) {
     System.out.println("Error: "+e.getMessage());
  }   }
}
Output
When you execute the given code, the following output is seen −
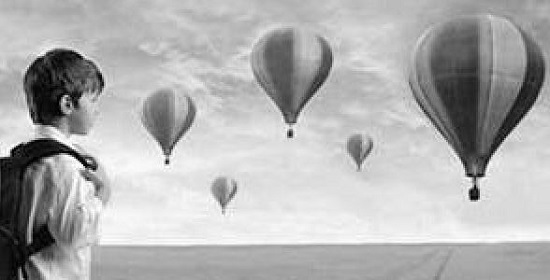
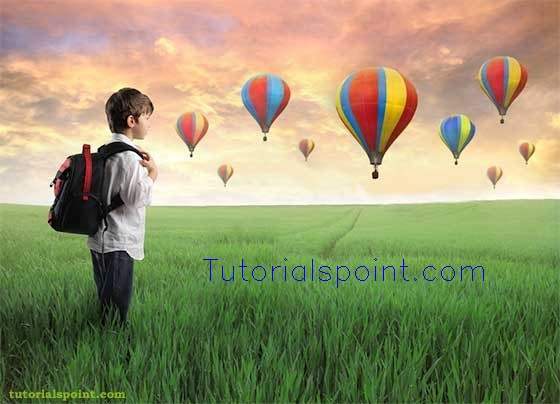
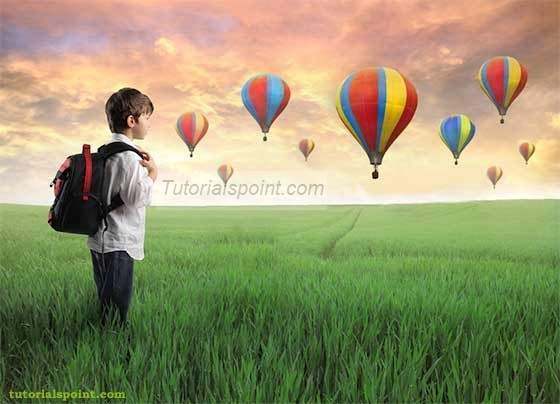
Original Image
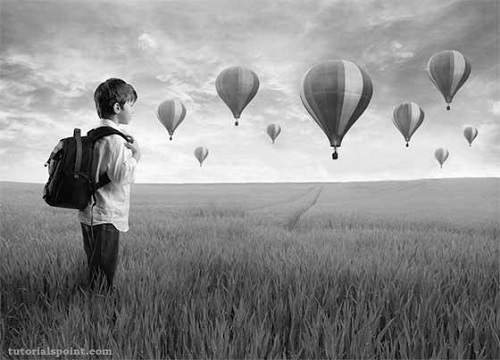
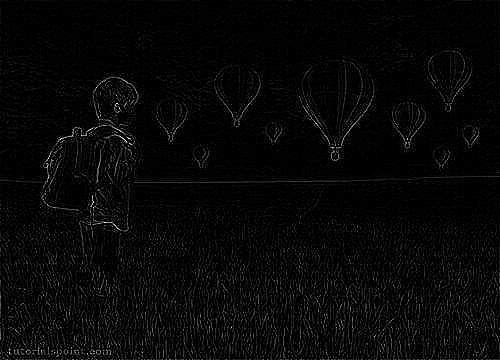
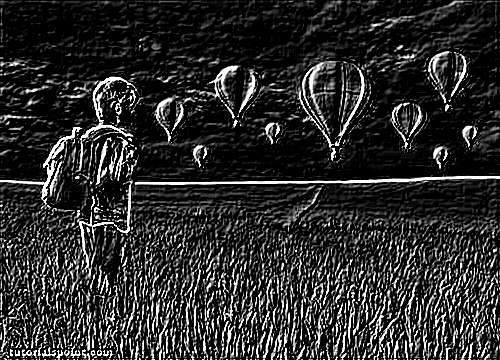
Zoomed Image(Zooming factor − 2)