Now let’s create a publisher application which will send message to the RabbitMQ Exchange. This exchange will deliver the message to the queue which is bound with the exchange.
Create Project
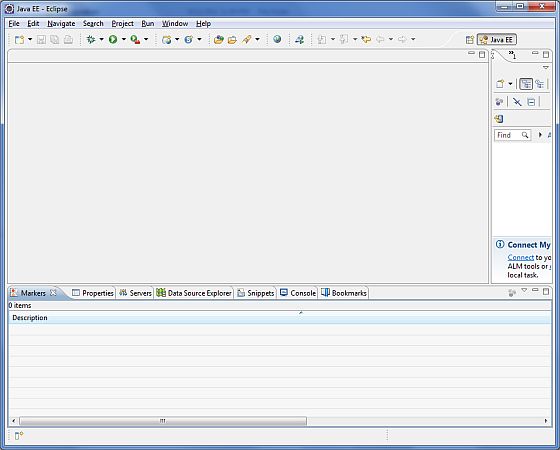
Using eclipse, select File → New → Maven Project. Tick the Create a simple project(skip archetype selection) and click Next.
Enter the details, as shown below −
- groupId − com.tutorialspoint
- artifactId − publisher
- version − 0.0.1-SNAPSHOT
- name − RabbitMQ Publisher
Click on Finish button and a new project will be created.
pom.xml
Now update the content of pom.xml to include dependencies for RabbitMQ.
<project xmlns="http://maven.apache.org/POM/4.0.0" xmlns:xsi="http://www.w3.org/2001/XMLSchema-instance"
xsi:schemaLocation="http://maven.apache.org/POM/4.0.0 https://maven.apache.org/xsd/maven-4.0.0.xsd">
<modelVersion>4.0.0</modelVersion>
<groupId>com.tutorialspoint.activemq</groupId>
<artifactId>publisher</artifactId>
<version>0.0.1-SNAPSHOT</version>
<name>RabbitMQ Publisher</name>
<properties>
<java.version>11</java.version>
</properties>
<dependencies>
<dependency>
<groupId>com.rabbitmq</groupId>
<artifactId>amqp-client</artifactId>
<version>5.14.2</version>
</dependency>
<dependency>
<groupId>org.slf4j</groupId>
<artifactId>slf4j-api</artifactId>
<version>1.7.26</version>
</dependency>
<dependency>
<groupId>org.slf4j</groupId>
<artifactId>slf4j-simple</artifactId>
<version>1.7.26</version>
</dependency>
</dependencies>
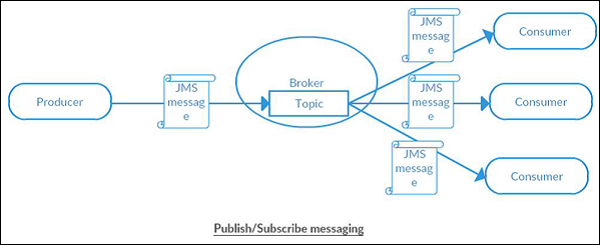
</project>Now create a Publisher class which will send message to the RabbitMQ topic to broadcast it to all the subscribers.
package com.tutorialspoint.rabbitmq;

import java.io.IOException;
import java.util.Scanner;
import java.util.concurrent.TimeoutException;

import com.rabbitmq.client.Channel;
import com.rabbitmq.client.Connection;
import com.rabbitmq.client.ConnectionFactory;

public class Publisher {
   private static final String EXCHANGE = "MyExchange";
   public static void main(String[] args) throws IOException, TimeoutException {
  ConnectionFactory factory = new ConnectionFactory();
  factory.setHost("localhost");
  try (Connection connection = factory.newConnection();
  Channel channel = connection.createChannel()) {
     channel.exchangeDeclare(EXCHANGE, "fanout");
     Scanner input = new Scanner(System.in);
     String message;
     do {
        System.out.println("Enter message: ");
        message = input.nextLine();
        channel.basicPublish(EXCHANGE, "", null, message.getBytes());
     } while (!message.equalsIgnoreCase("Quit"));
  }   }
}
Producer class creates a connection, creates a channel, declare an exchange and then asks user to enter message. The message is sent to exchange and as queue name, we are not passing queue name thus all queues which are bound to this exchange will get the message. If user enters quit then application terminates else it will send the message to the topic.