- Keras provides access to several pre-trained models, such as VGG, Inception, ResNet, and others. These models can be fine-tuned for specific tasks, reducing the need for building models from scratch.
Author: saqibkhan
-
Wide Range of Pre-trained Models
-
Kotlin First Program Printing ‘HelloWorld’
Let’s create a Kotlin first example using IntelliJ IDEA IDE.
Steps to Create First Example
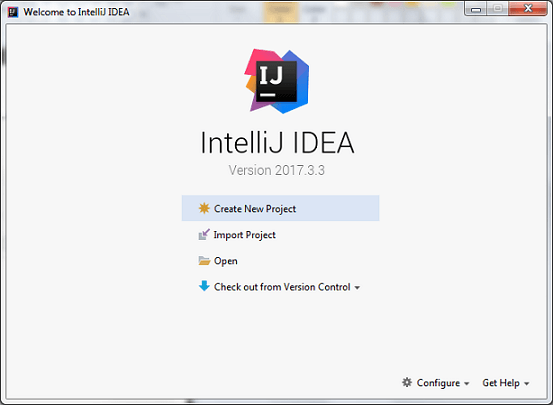
1. Open IntelliJ IDEA and click on Create New Project’.
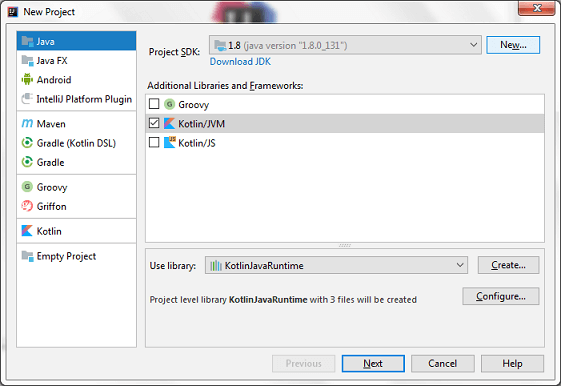
2. Select Java option, provide project SDK path and mark check on Kotlin/JVM frameworks.
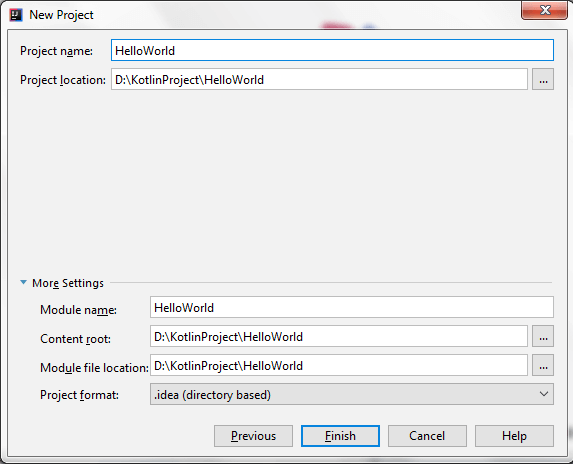
3. Provide the project details in new frame and click ‘Finish’.
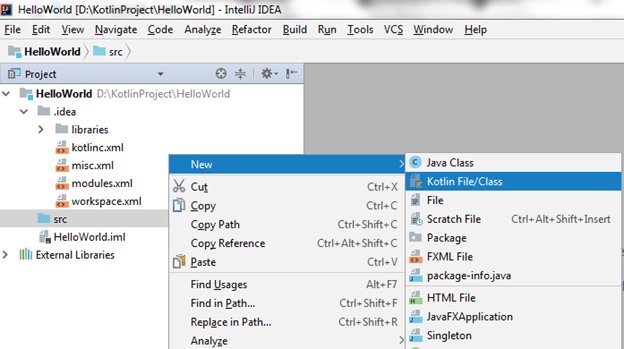
4. Create a new Kotlin file to run Kotlin first example. Go to src ->New->Kotlin File/Class.
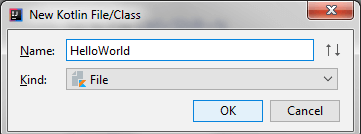
5. Enter the file name ‘HelloWorld’ and click ‘OK’.
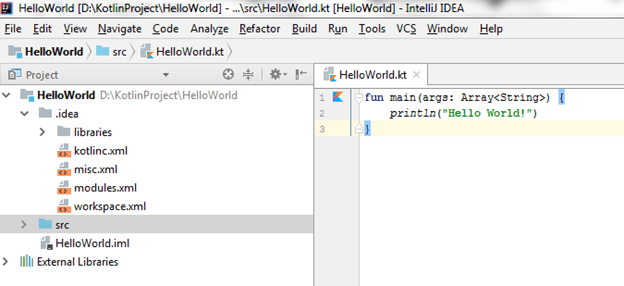
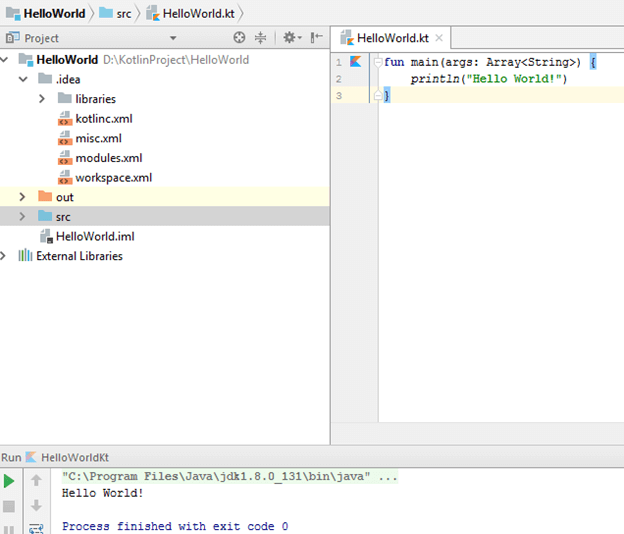
6. Write the following code in ‘HelloWorld.kt’ file. Kotlin files and classes are saved with “.kt” extension.
fun main(args: Array<String>) {

    println("Hello World!")

}
We will discuss the detail of this code later in upcoming tutorial.
7. Now we can run this program by right clicking on file and select Run option.
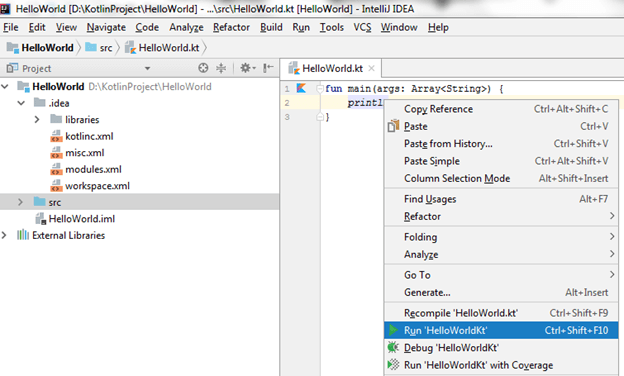
8. Finally, we got the output of program on console, displaying ‘HelloWorld’ message.
-
Rapid Prototyping
- Keras is excellent for fast prototyping, allowing developers to quickly build and test different neural network architectures with minimal effort.
-
Backend Compatibility
- Keras supports multiple backends such as TensorFlow, Microsoft Cognitive Toolkit (CNTK), and Theano. This flexibility allows you to choose the most appropriate backend depending on the task and hardware requirements.
-
Modularity
- Keras is modular in design, which allows for the flexible combination of different neural network layers, optimizers, activation functions, and loss functions. This modularity allows for easy experimentation.
-
Ease of Use
- High-Level API: Keras provides a high-level API for building and training deep learning models. It abstracts the complexities of building a neural network, making it easy to use even for beginners.
- Simple Syntax: The syntax is intuitive and minimalistic, enabling developers to write fewer lines of code to accomplish complex tasks.
-
Kotlin Environment Setup (IDE)
Install JDK and Setup JDK path
Since, Kotlin runs on JVM, it is necessary to install JDK and setup the JDK and JRE path in local system environment variable. Use this link https://www.javatpoint.com/how-to-set-path-in-java to setup JDK path.
Install IDE for Kotlin
There are various Java IDE available which supports Kotlin project development. We can choose these IDE according to our compatibility. The download links of these IDE’s are given below.
IDE Name Download links IntelliJ IDEA https://www.jetbrains.com/idea/download/ Android Studio https://developer.android.com/studio/preview/index.html Eclipse https://www.eclipse.org/downloads/ In this tutorial, we are going to use IntelliJ IDEA for our Kotlin program development.
Steps to Setup IntelliJ IDEA
1. Download IntelliJ IDEA.

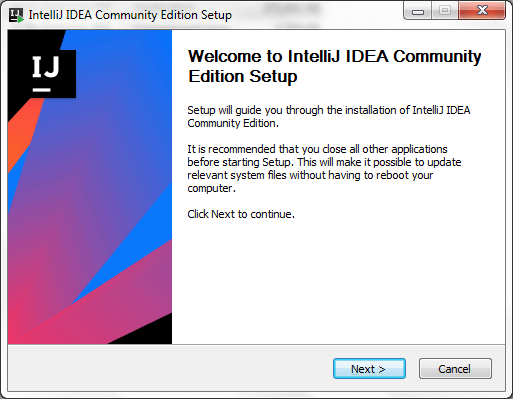
2. Run the downloaded setup.
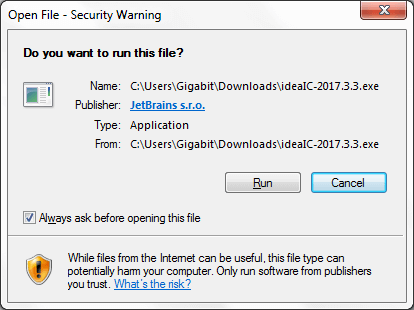
3. Click next to continue.
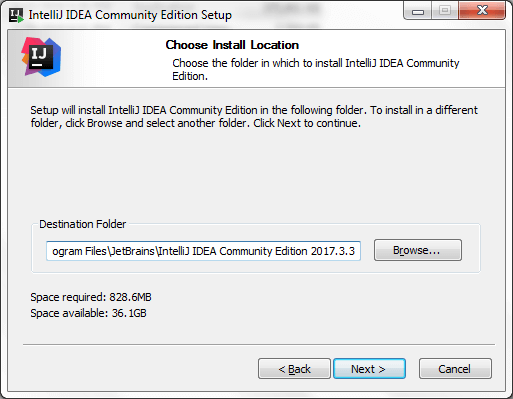
4. Choose installation location.
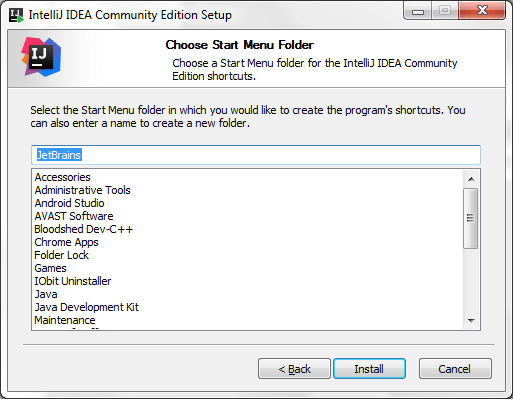
5. Choose start menu folder and click Install.
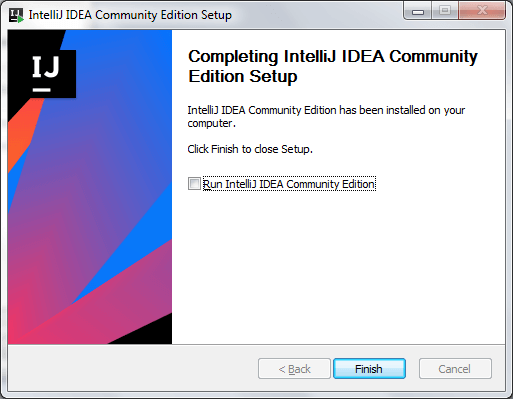
6. Click Finish to complete Installation.
-
Kotlin First Program Concept
Let’s understand the concepts and keywords of Kotlin program ‘Hello World.kt’.
fun main(args: Array<String>) {

    println("Hello World!")

}
1. The first line of program defines a function called main(). In Kotlin, function is a group of statements that performs a group of tasks. Functions start with a keyword fun followed by function name (main in this case).
The main () function takes an array of string (Array<String>) as a parameter and returns Unit. Unit is used to indicate the function and does not return any value (void as in Java). Declaring Unit is an optional, we do not declare it explicitly.
fun main(args: Array<String>): Unit {

//

}
The main() function is the entry point of the program, it is called first when Kotlin program starts execution.
2. The second line used to print a String “Hello World!”. To print standard output we use wrapper println() over standard Java library functions (System.out.println()).
println("Hello World!")Note: Semicolons are optional in Kotlin.
-
Kotlin Hello World Program in Command line.
To write Kotlin program, we can use any text editor like: Notepad++. Put the following code into any text file and save.
fun main(args: Array<String>){

    println("Hello World!")

}
Save the file with name hello.kt, .kt extension is used for Kotlin file.
Compile Kotlin File
Open command prompt and go to directory location where file is stored. Compile hello.kt file with following command.
kotlinc hello.kt -include-runtime -d hello.jar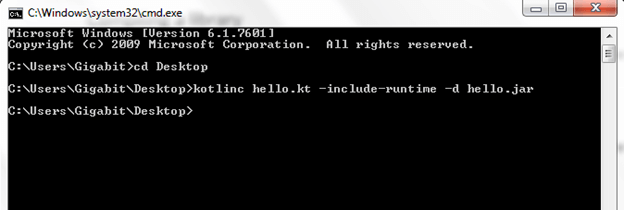
Run Kotlin File
To run the Kotlin .jar (hello.jar) file run the following command.
java -jar hello.jar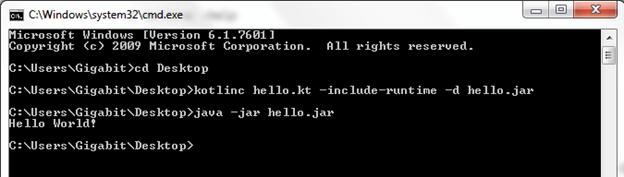
-
Kotlin Environment Setup (Command line)
Prerequisite
Since Kotlin runs on JVM, it is necessary to install JDK and setup the JDK and JRE path in local system environment variable.
To setup Kotlin for command line, you have to pre install JDK 1.6+ or above. To install JDK and set path of JDK and JRE refer link Set Path in Java .
Setup Kotlin for Command Line
To setup Kotlin for command line, we need to go through following steps:
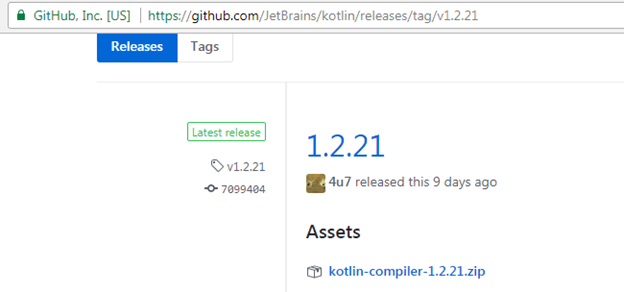
1. Download the Kotlin Compiler from GitHub Releases https://github.com/JetBrains/kotlin/releases/tag/v1.2.21 .
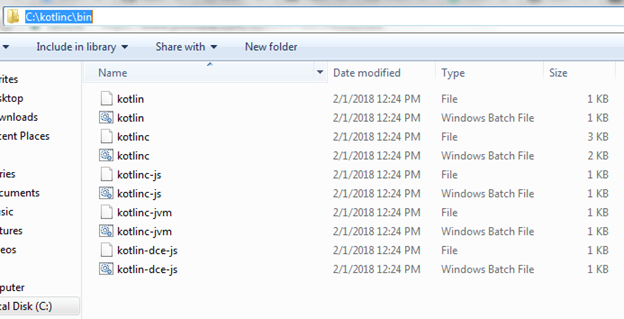
2. Extract downloaded zip in any of system location (in my case it is in C drive).
3. Copy the path up to bin directory of kotlinc.
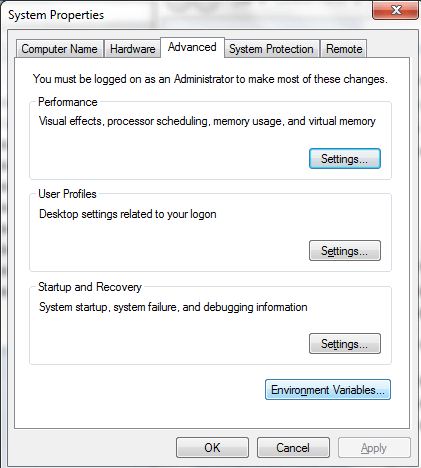
4. Open Computer properties and click Environment variables.
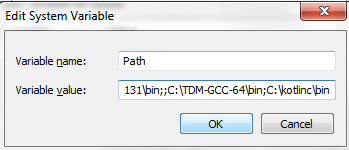
5. Click on edit path
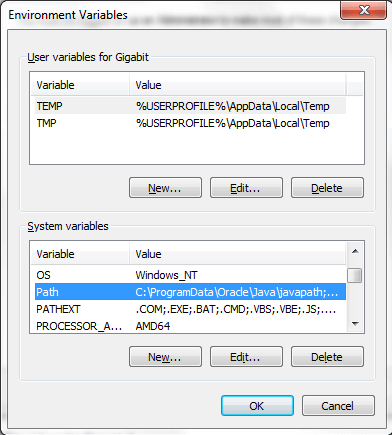
6. Past the path of kotlinc bin directory in variable value.