To install and setup an environment for Node.js, you need the following two softwares available on your computer:
- Text Editor.
- Node.js Binary installable
Text Editor:
The text editor is used to type your program. For example: Notepad is used in Windows, vim or vi can be used on Windows as well as Linux or UNIX. The name and version of the text editor can be different from operating system to operating system.
The files created with text editor are called source files and contain program source code. The source files for Node.js programs are typically named with the extension “.js”.
The Node.js Runtime:
The source code written in source file is simply JavaScript. It is interpreted and executed by the Node.js interpreter.
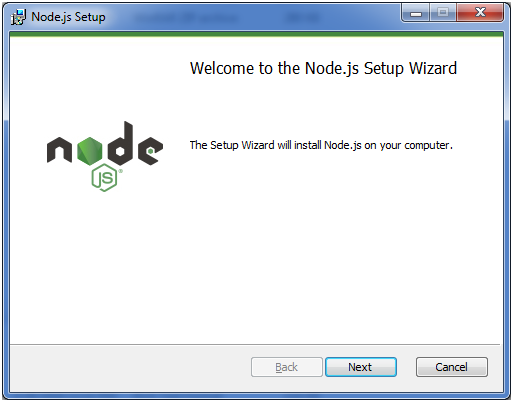
How to download Node.js:
You can download the latest version of Node.js installable archive file from https://nodejs.org/en/
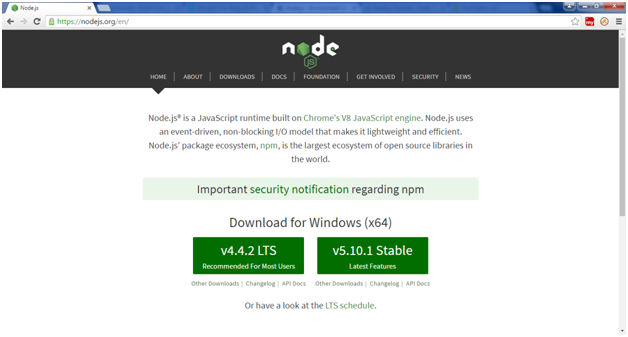
Here, you deploy the installation of node-v4.4.2 LTS recommended for most users.
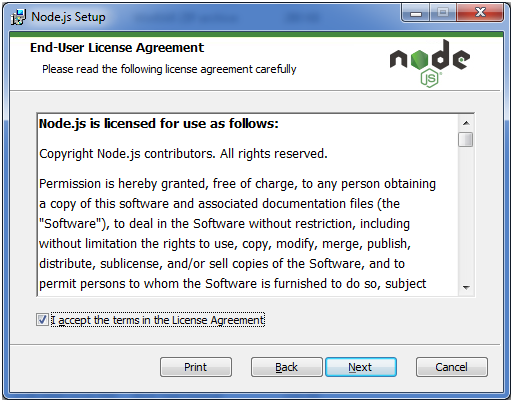
Accept the terms of license agreement.
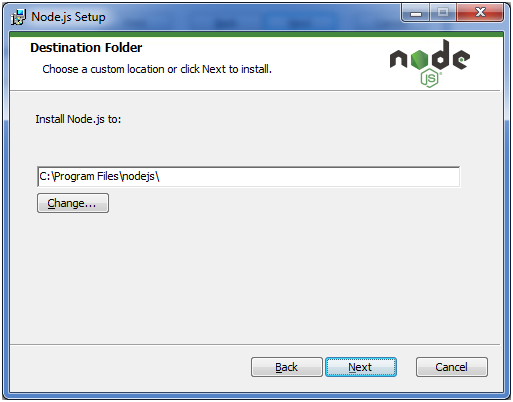
Choose the location where you want to install.
Ready to install: