Node.js provides Buffer class to store raw data similar to an array of integers but corresponds to a raw memory allocation outside the V8 heap. Buffer class is used because pure JavaScript is not nice to binary data. So, when dealing with TCP streams or the file system, it’s necessary to handle octet streams.
Buffer class is a global class. It can be accessed in application without importing buffer module.
Node.js Creating Buffers
There are many ways to construct a Node buffer. Following are the three mostly used methods:
- Create an uninitiated buffer: Following is the syntax of creating an uninitiated buffer of 10 octets:
var buf = new Buffer(10); - Create a buffer from array: Following is the syntax to create a Buffer from a given array:
var buf = new Buffer([10, 20, 30, 40, 50]); - Create a buffer from string: Following is the syntax to create a Buffer from a given string and optionally encoding type:
var buf = new Buffer("Simply Easy Learning", "utf-8"); Node.js Writing to buffers
Following is the method to write into a Node buffer:
Syntax:
buf.write(string[, offset][, length][, encoding]) Parameter explanation:
string: It specifies the string data to be written to buffer.
offset: It specifies the index of the buffer to start writing at. Its default value is 0.
length: It specifies the number of bytes to write. Defaults to buffer.length
encoding: Encoding to use. ‘utf8’ is the default encoding.
Return values from writing buffers:
This method is used to return number of octets written. In the case of space shortage for buffer to fit the entire string, it will write a part of the string.
Let’s take an example:
Create a JavaScript file named “main.js” having the following code:
File: main.js
buf = new Buffer(256);
len = buf.write("Simply Easy Learning");
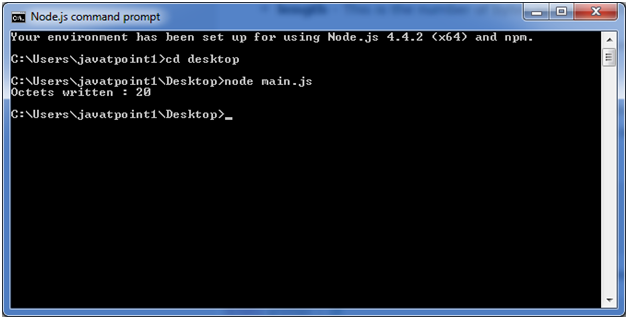
console.log("Octets written : "+ len); Open the Node.js command prompt and execute the following code:
node main.js Output:
Node.js Reading from buffers
Following is the method to read data from a Node buffer.
Syntax:
buf.toString([encoding][, start][, end]) Parameter explanation:
encoding: It specifies encoding to use. ‘utf8’ is the default encoding
start: It specifies beginning index to start reading, defaults to 0.
end: It specifies end index to end reading, defaults is complete buffer.
Return values reading from buffers:
This method decodes and returns a string from buffer data encoded using the specified character set encoding.
Let’s take an example:
File: main.js
buf = new Buffer(26);
for (var i = 0 ; i < 26 ; i++) {
buf[i] = i + 97;
}
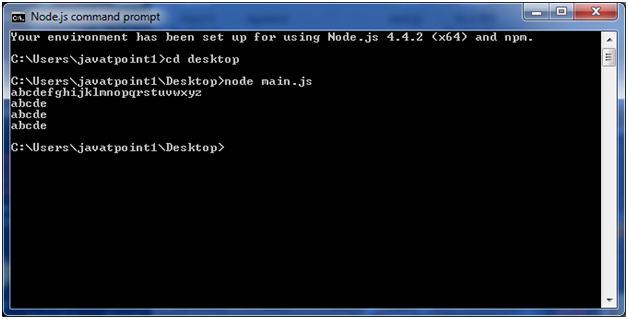
console.log( buf.toString('ascii')); // outputs: abcdefghijklmnopqrstuvwxyz
console.log( buf.toString('ascii',0,5)); // outputs: abcde
console.log( buf.toString('utf8',0,5)); // outputs: abcde
console.log( buf.toString(undefined,0,5)); // encoding defaults to 'utf8', outputs abcde Open Node.js command prompt and execute the following code:
node main.js Output: