One of the most exciting new features of JavaScript ES6 is a new breed of function, called a generator. Before generators, the whole script was used to usually execute in a top to bottom order, without an easy way to stop code execution and resuming with the same stack later. Generators are functions which can be exited and later re-entered. Their context (variable bindings) will be saved across re-entrances.
Generators allow us to stop code execution in between. Hence, let’s take a look at a simple generator.
var generator_func = function* (){
   yield 1;
   yield 2;
};

var itr = generator_func();
console.log(itr.next());
console.log(itr.next());
console.log(itr.next());
When running the above code, following will be the result.
{ value: 1, done: false }
{ value: 2, done: false }
{ value: undefined, done: true }
Let’s look inside the above code. We first create a generator called generator_func(). We created an instance of this weird looking function and assigned it to itr. Then we started calling next() on this itr variable.
Calling next() starts the generator and it runs until it hits a yield. Then it returns the object with value and done, where the value has the expression value. This expression can be anything. At this point, it pauses execution. Again when we call this function(next), the generator resumes execution from the last yield point with the function state being the same at the time of pause, till the next yield point. This is done till there are no more yield points in the code.
Generators in Koa
So why are we discussing generators in this tutorial. As you might remember from the hello world program, we used a function* () notation to pass a callback to app.use(). Koa is an object, which contains an array of middleware generator functions, all of which are composed and executed in a stack-like manner upon each request. Koa also implements downstreaming followed by upstreaming of control flow.
Take a look at the following example to understand this in a better way.
var koa = require('koa');
var app = koa();
app.use(function* (next) {
//do something before yielding to next generator function
//in line which will be 1st event in downstream
console.log("1");
yield next;
//do something when the execution returns upstream,
//this will be last event in upstream
console.log("2");
});
app.use(function* (next) {
// This shall be 2nd event downstream
console.log("3");
yield next;
// This would be 2nd event upstream
console.log("4");
});
app.use(function* () {
// Here it would be last function downstream
console.log("5");
// Set response body
this.body = "Hello Generators";
// First event of upstream (from the last to first)
console.log("6");
});
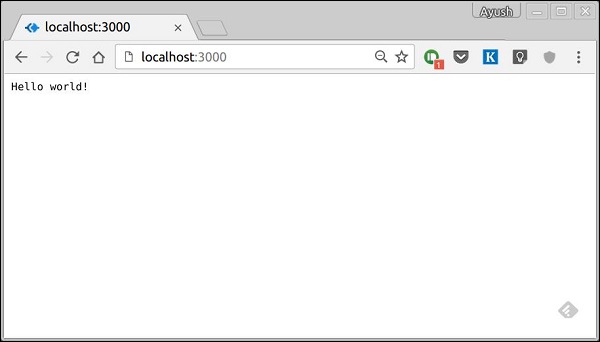
app.listen(3000);When running the above code and navigating to https://localhost:3000/ we get the following output on our console.
1
3
5
6
4
2
This is essentially how Koa uses generators. It allows us to create compact middleware using this property and write code for both upstream and downstream functionalities, thus saving us from callbacks.