Facades provide a static interface to classes that are available in the application’s service container. Laravel facades serve as static proxies to underlying classes in the service container, providing the benefit of a terse, expressive syntax while maintaining more testability and flexibility than traditional static methods.
How to create Facade
The following are the steps to create Facade in Laravel −
- Step 1 − Create PHP Class File.
- Step 2 − Bind that class to Service Provider.
- Step 3 − Register that ServiceProvider toConfig\app.php as providers.
- Step 4 − Create Class which is this class extends tolluminate\Support\Facades\Facade.
- Step 5 − Register point 4 to Config\app.php as aliases.
Facade Class Reference
Laravel ships with many Facades. The following table show the in-built Facade class references −
| Facade | Class | Service Container Binding |
|---|---|---|
| App | Illuminate\Foundation\Application | app |
| Artisan | Illuminate\Contracts\Console\Kernel | artisan |
| Auth | Illuminate\Auth\AuthManager | auth |
| Auth (Instance) | Illuminate\Auth\Guard | |
| Blade | Illuminate\View\Compilers\BladeCompiler | blade.compiler |
| Bus | Illuminate\Contracts\Bus\Dispatcher | |
| Cache | Illuminate\Cache\Repository | cache |
| Config | Illuminate\Config\Repository | config |
| Cookie | Illuminate\Cookie\CookieJar | cookie |
| Crypt | Illuminate\Encryption\Encrypter | encrypter |
| DB | Illuminate\Database\DatabaseManager | db |
| DB (Instance) | Illuminate\Database\Connection | |
| Event | Illuminate\Events\Dispatcher | events |
| File | Illuminate\Filesystem\Filesystem | files |
| Gate | Illuminate\Contracts\Auth\Access\Gate | |
| Hash | Illuminate\Contracts\Hashing\Hasher | hash |
| Input | Illuminate\Http\Request | request |
| Lang | Illuminate\Translation\Translator | translator |
| Log | Illuminate\Log\Writer | log |
| Illuminate\Mail\Mailer | mailer | |
| Password | Illuminate\Auth\Passwords\PasswordBroker | auth.password |
| Queue | Illuminate\Queue\QueueManager | queue |
| Queue (Instance) | Illuminate\Queue\QueueInterface | |
| Queue (Base Class) | Illuminate\Queue\Queue | |
| Redirect | Illuminate\Routing\Redirector | redirect |
| Redis | Illuminate\Redis\Database | redis |
| Request | Illuminate\Http\Request | request |
| Response | Illuminate\Contracts\Routing\ResponseFactory | |
| Route | Illuminate\Routing\Router | router |
| Schema | Illuminate\Database\Schema\Blueprint | |
| Session | Illuminate\Session\SessionManager | session |
| Session (Instance) | Illuminate\Session\Store | |
| Storage | Illuminate\Contracts\Filesystem\Factory | filesystem |
| URL | Illuminate\Routing\UrlGenerator | url |
| Validator | Illuminate\Validation\Factory | validator |
| Validator (Instance) | Illuminate\Validation\Validator | |
| View | Illuminate\View\Factory | view |
| View (Instance) | Illuminate\View\View |
Example
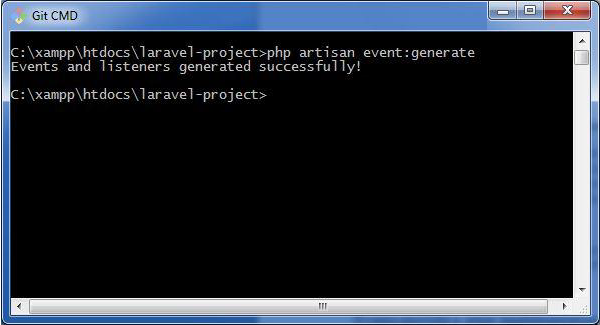
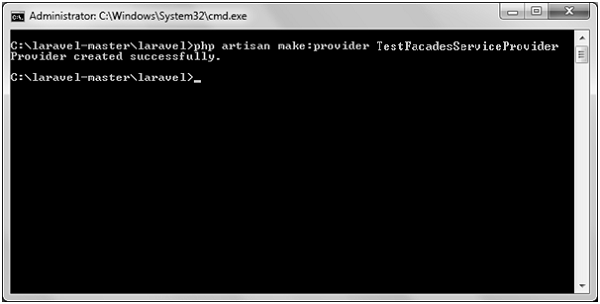
Step 1 − Create a service provider called TestFacadesServiceProvider by executing the following command.
php artisan make:provider TestFacadesServiceProvider
Step 2 − After successful execution, you will receive the following output −
Step 3 − Create a class called TestFacades.php at App/Test.
App/Test/TestFacades.php
<?php
   namespace App\Test;
   class TestFacades{
  public function testingFacades() {
     echo "Testing the Facades in Laravel.";
  }   }
?>
Step 4 − Create a Facade class called “TestFacades.php” at “App/Test/Facades”.
App/Test/Facades/TestFacades.php
<?php

namespace app\Test\Facades;

use Illuminate\Support\Facades\Facade;

class TestFacades extends Facade {
   protected static function getFacadeAccessor() { return 'test'; }
}
Step 5 − Create a Facade class called TestFacadesServiceProviders.php at App/Test/Facades.
App/Providers/TestFacadesServiceProviders.php
<?php
namespace App\Providers;
use App;
use Illuminate\Support\ServiceProvider;
class TestFacadesServiceProvider extends ServiceProvider {
public function boot() {
//
}
public function register() {
App::bind('test',function() {
return new \App\Test\TestFacades;
});
}
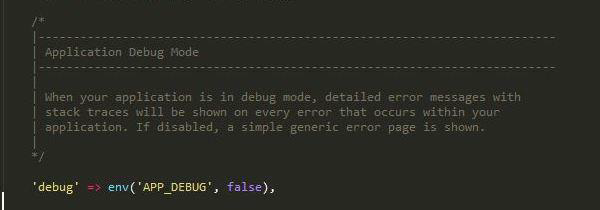
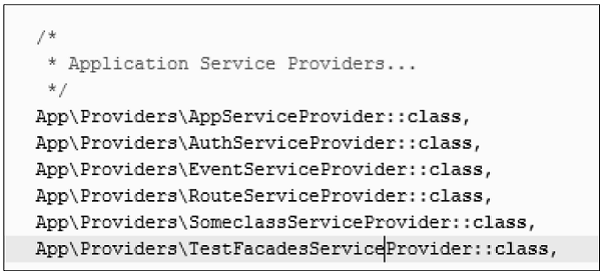
}Step 6 − Add a service provider in a file config/app.php as shown in the below figure.
config/app.php
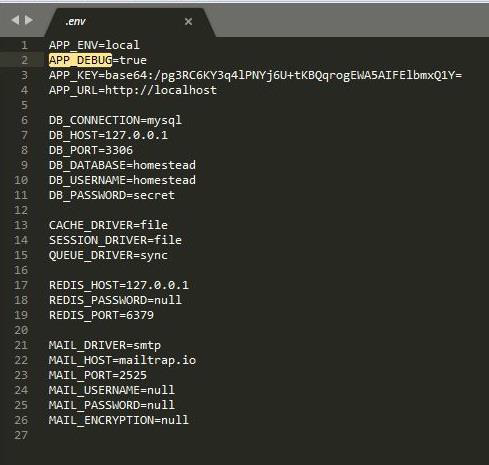
Step 7 − Add an alias in a file config/app.php as shown in the below figure.
config/app.php

Step 8 − Add the following lines in app/Http/routes.php.
app/Http/routes.php
Route::get('/facadeex', function() {
   return TestFacades::testingFacades();
});
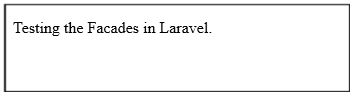
Step 9 − Visit the following URL to test the Facade.
http://localhost:8000/facadeex
Step 10 − After visiting the URL, you will receive the following output −