Ingredients
Original recipe (1X) yields 2 servings
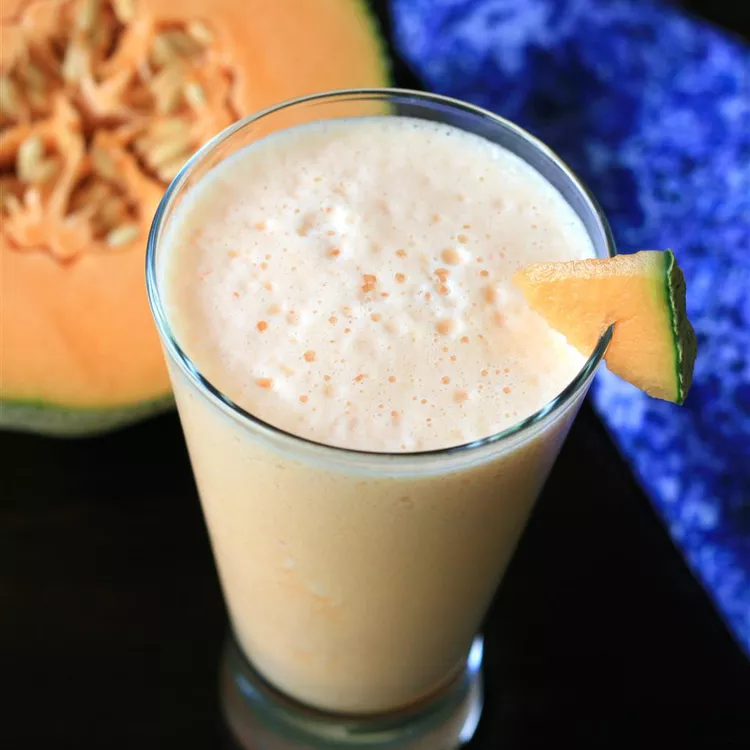
- ½ cantaloupe, peeled, seeded, and cubed
- ¾ cup milk
- 1 tablespoon white sugar
Directions
- Place cantaloupe, milk, and sugar in a blender; cover and blend until smooth.
Original recipe (1X) yields 2 servings
Original recipe (1X) yields 3 servings
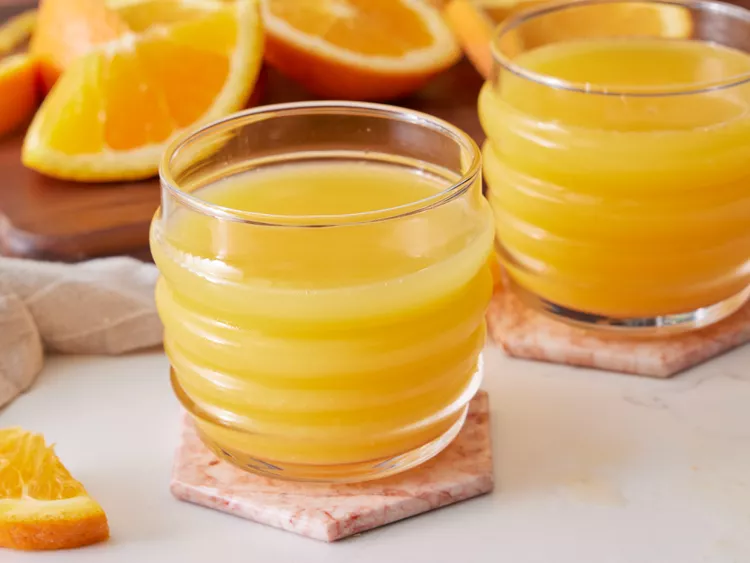
:max_bytes(150000):strip_icc():format(webp)/AR-8922-fresh-orange-juice-step-1-83626f86d5a346d28024051ea0cea69b.jpg) Dotdash Meredith Food Studios
Dotdash Meredith Food Studios
Original recipe (1X) yields 2 servings
Original recipe (1X) yields 2 servings
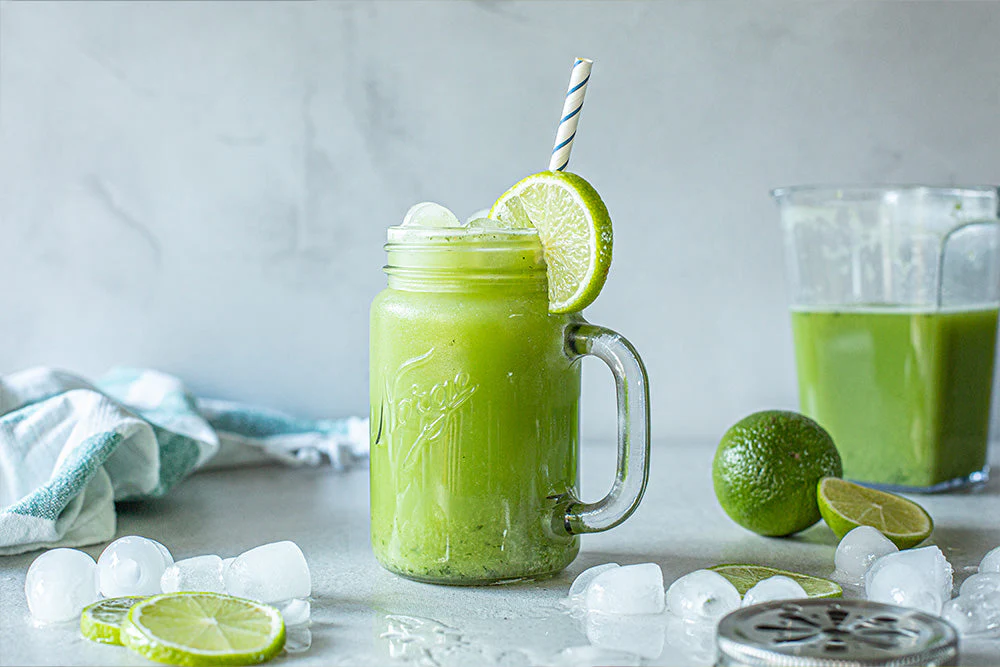
:max_bytes(150000):strip_icc():format(webp)/230642-Healthy-Green-Juice-077-step1-826fbaaa90a14d1a8ba072575f25ea20.jpg) Dotdash Meredith Food Studios
Dotdash Meredith Food Studios:max_bytes(150000):strip_icc():format(webp)/230642-Healthy-Green-Juice-078-step2-5b17e72befb04087841b2d05343addc3.jpg) Dotdash Meredith Food Studios
Dotdash Meredith Food Studios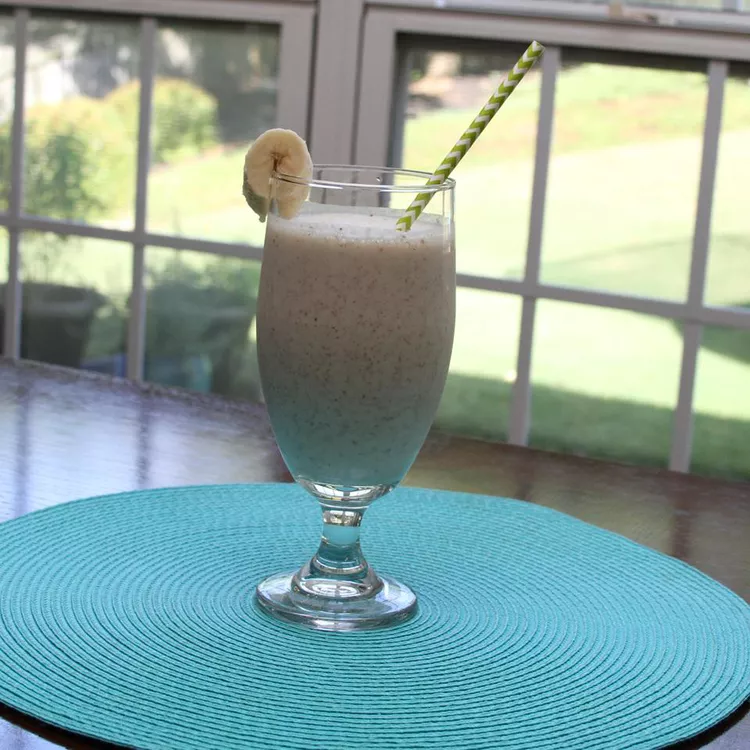
Original recipe (1X) yields 2 servings
Original recipe (1X) yields 2 servings
Original recipe (1X) yields 2 servings
Original recipe (1X) yields 7 servings
Original recipe (1X) yields 2 servings
Original recipe (1X) yields 9 servings
:max_bytes(150000):strip_icc():format(webp)/246681-homemade-sports-drink-aka-greaterade-VAT-step-01-0674eca5828f469eaae6da2900474049.jpg) Allrecipes / Qi Ai
Allrecipes / Qi Ai:max_bytes(150000):strip_icc():format(webp)/246681-homemade-sports-drink-aka-greaterade-VAT-step-02-a5509ea7c3df4f2398495e8b09b17910.jpg) Allrecipes / Qi Ai
Allrecipes / Qi Ai