Ingredients
Original recipe (1X) yields 2 servings
- 1 (8 ounce) can salmon, undrained
- ¼ cucumber, chopped
- 1 tablespoon capers, drained with liquid reserved and chopped
- 2 tablespoons light mayonnaise
- 1 tablespoon red wine vinegar
- 1 teaspoon red chile paste
- ¼ teaspoon Sriracha hot sauce, or more to taste
- 4 slices whole wheat bread, toasted
Directions
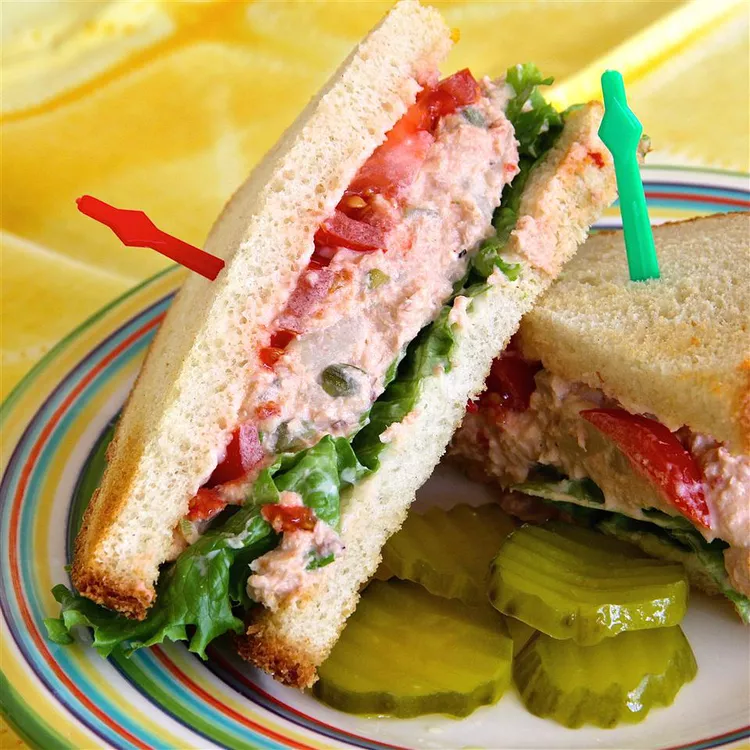
- Put salmon into a bowl and use a fork to flake and mix with the liquid from the can. Mix cucumber and capers with the salmon.
- Stir mayonnaise, red wine vinegar, chile paste, and reserved liquid from the capers together in a bowl; add Sriracha hot sauce and adjust to taste. Pour mayonnaise mixture over the salmon mixture and stir to coat. Spoon onto toasted bread to make sandwiches.
:max_bytes(150000):strip_icc():format(webp)/58246-make-ahead-lunch-wraps-DDMFS-step-01-fe290e727ca1467a99b04d97f128029d.jpg) Photographer: Jacob Fox / Food Styling: Shannon Goforth / Prop Styling: Gabriel Greco
Photographer: Jacob Fox / Food Styling: Shannon Goforth / Prop Styling: Gabriel Greco:max_bytes(150000):strip_icc():format(webp)/58246-make-ahead-lunch-wraps-DDMFS-step-02-4d744d5844c340f89d9787b73e1a0477.jpg) Photographer: Jacob Fox / Food Styling: Shannon Goforth / Prop Styling: Gabriel Greco
Photographer: Jacob Fox / Food Styling: Shannon Goforth / Prop Styling: Gabriel Greco:max_bytes(150000):strip_icc():format(webp)/58246-make-ahead-lunch-wraps-DDMFS-step-03-e23924b948c2438aaf29eba7714ee7f4.jpg) Photographer: Jacob Fox / Food Styling: Shannon Goforth / Prop Styling: Gabriel Greco
Photographer: Jacob Fox / Food Styling: Shannon Goforth / Prop Styling: Gabriel Greco:max_bytes(150000):strip_icc():format(webp)/58246-make-ahead-lunch-wraps-DDMFS-step-04-f20fe9aa0de1455ebfa150d710a6816d.jpg) Photographer: Jacob Fox / Food Styling: Shannon Goforth / Prop Styling: Gabriel Greco
Photographer: Jacob Fox / Food Styling: Shannon Goforth / Prop Styling: Gabriel Greco