Ingredients
Original recipe (1X) yields 4 servings
- 1 pound fingerling potatoes, halved lengthwise
- 2 cloves garlic, minced
- 2 tablespoons grated Parmesan cheese
- 1 teaspoon lemon zest
- ½ teaspoon salt
- ¼ teaspoon freshly ground black pepper
- 2 tablespoons olive oil
- 1 tablespoon butter
- 2 tablespoons chopped fresh parsley
Directions
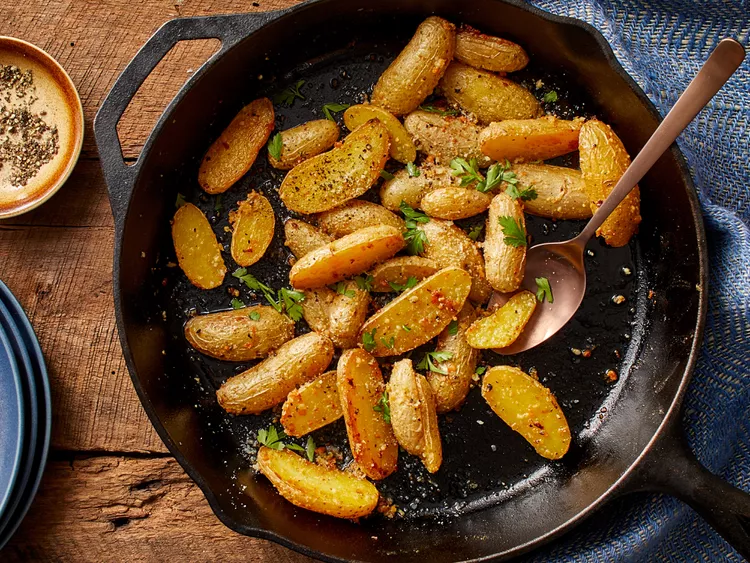
- Gather the ingredients. Preheat the oven to 425 degrees F (220 degrees C).
:max_bytes(150000):strip_icc():format(webp)/269519-roasted-garlic-parmesan-fingerling-potatoes-ddmfs-4x3-step-01-1533-8be4117d8a504cb4abcef13aa2d9a250.jpg) Dotdash Meredith Food Studios
Dotdash Meredith Food Studios - Toss potatoes, garlic, Parmesan cheese, lemon zest, salt, and black pepper together in a bowl. Drizzle with olive oil and toss again until evenly combined.
:max_bytes(150000):strip_icc():format(webp)/269519-roasted-garlic-parmesan-fingerling-potatoes-ddmfs-4x3-step-02-1536-791fba007c2d4feb920f9e15bab7a423.jpg) Dotdash Meredith Food Studios
Dotdash Meredith Food Studios - Heat a cast-iron skillet over medium-high heat. Add butter and heat until melted. Add potatoes; cook and toss until evenly coated with butter, about 2 minutes. Move the skillet to the preheated oven.
:max_bytes(150000):strip_icc():format(webp)/269519-roasted-garlic-parmesan-fingerling-potatoes-ddmfs-4x3-step-03-1538-7859f2ac37d4489e8cfdca2b6d00335c.jpg) Dotdash Meredith Food Studios
Dotdash Meredith Food Studios - Roast in the preheated oven until soft, 15 to 20 minutes, tossing halfway through. Remove from oven and top with parsley.

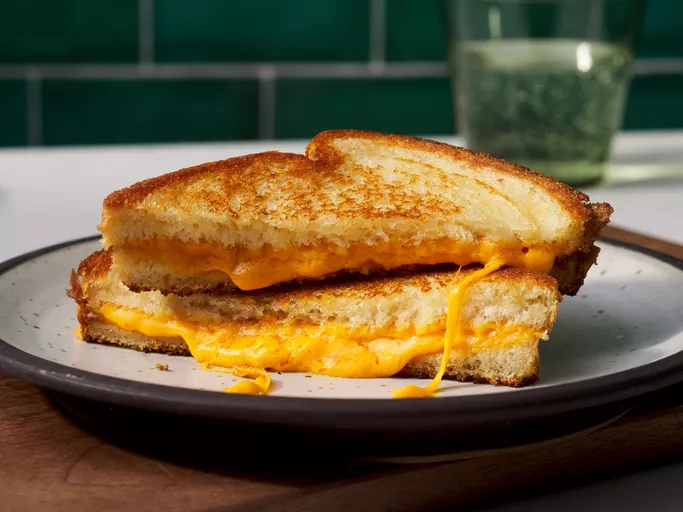
:max_bytes(150000):strip_icc():format(webp)/AR-238891-Grilled-Cheese-Sandwich-step-01-21e094bbe7f042c585aa245c5dcc7ebe.jpg) Dotdash Meredith Food Studios
Dotdash Meredith Food Studios:max_bytes(150000):strip_icc():format(webp)/AR-238891-Grilled-Cheese-Sandwich-step-02-f936b8a481364c53a91c68ce18e507a2.jpg) Dotdash Meredith Food Studios
Dotdash Meredith Food Studios:max_bytes(150000):strip_icc():format(webp)/AR-238891-Grilled-Cheese-Sandwich-step-03-5a09c8dfbd3e4b8a93289ab180a99e7d.jpg) Dotdash Meredith Food Studios
Dotdash Meredith Food Studios:max_bytes(150000):strip_icc():format(webp)/AR-238891-Grilled-Cheese-Sandwich-step-04-5504bf38c69b4513b97582c5ce874308.jpg) Dotdash Meredith Food Studios
Dotdash Meredith Food Studios:max_bytes(150000):strip_icc():format(webp)/AR-238891-Grilled-Cheese-Sandwich-step-05-d16dfd696b21477face0bc81cd3b9a0e.jpg) Dotdash Meredith Food Studios
Dotdash Meredith Food Studios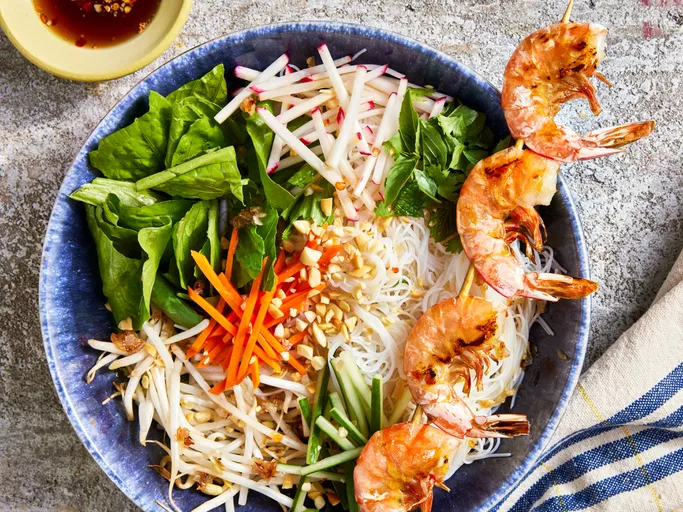
:max_bytes(150000):strip_icc():format(webp)/223529-vermicelli-noodle-bowl-step-1-95-bc0526302feb482d9e3333d03ef14bdf.jpg) Dotdash Meredith Food Studios
Dotdash Meredith Food Studios:max_bytes(150000):strip_icc():format(webp)/223529-vermicelli-noodle-bowl-step-2-96-72d0be9c4705456eb4230014bc7b6eec.jpg) Dotdash Meredith Food Studios
Dotdash Meredith Food Studios:max_bytes(150000):strip_icc():format(webp)/223529-vermicelli-noodle-bowl-step-3-97-9b4c31020b8e4704a7424d60db4dfbbe.jpg) Dotdash Meredith Food Studios
Dotdash Meredith Food Studios:max_bytes(150000):strip_icc():format(webp)/223529-vermicelli-noodle-bowl-step-4-99-904390a36c2c4065a922065de6e5a1f6.jpg) Dotdash Meredith Food Studios
Dotdash Meredith Food Studios