What is Navigation?
Navigation in web applications refers to the process of moving (navigating) through different pages or views within an application. It allows users to interact with various components, access different sections, and use application features.
Let’s consider a simple login page in an application. On this login page, users can see links for Sign Up and Forgot Password. These links allow users to navigate to the Sign-Up and Forgot Password sections or components.
Navigation in Angular
In Angular, navigation is a feature that allows users to move between different sections or components within an application. This can be done by defining routing for an individual click requests without using the routerLink directive from the RouterModule.
In this chapter, we will discuss how to manually set the navigation without using the routerLink directive. In Angular, the router service provides the navigate() method to programmatically navigate to different routes within the application.
Sample Example
To manually set navigation and navigate through different components in Angular, follow these steps:
Step 1: Open the node.js command or terminal in your IDE (such as VS code) and go to your favorite workspace as follows:
cd /go/to/your/favorite/workspace
Step 2: Install CLI and create a new application using the command below:
npm install @angular/cli

ng new myApp
Step 3: Now, navigate to your newly created application as follows:
cd myApp
Step 4: Open theapp.component.htmlfile and remove everything leaving only the following:
<router-outlet></router-outlet>
Step 5: Run the application using the below command to ensure that the application is created successfully:
ng serve
Step 6: Create two components using the command below:
ng generate component product

ng generate component inventory
Step 7: Open the app.component.html file and place the below code:
<h1>Welcome to Angular Application</h1><button (click)="open('product')">Go to Product</button><button (click)="open('inventory')">Go to Inventory</button><router-outlet></router-outlet>
Step 8: Open the app.component.ts file and place the below code:
import{ Component }from'@angular/core';import{ CommonModule }from'@angular/common';import{ RouterModule, RouterOutlet, Router }from'@angular/router';@Component({
  selector:'app-root',
  standalone:true,
  imports:[CommonModule, RouterOutlet, RouterModule],
  templateUrl:'./app.component.html',
  styleUrl:'./app.component.css'})exportclassAppComponent{
  title ='myApp';constructor(private router: Router){}open(data:any){if(data ==="product"){//here used navigate() to set navigation manuallythis.router.navigate(["/product"]);}elseif(data ==="inventory"){this.router.navigate(["/inventory"]);}}}
Step 9: Now open the app.routes.ts file and place the code below:
import{ Routes }from'@angular/router';import{ ProductComponent }from'./product/product.component';import{ InventoryComponent }from'./inventory/inventory.component';exportconst routes: Routes =[{path:'product', component: ProductComponent},{path:'inventory', component: InventoryComponent}];
Step 10: Finally, run the application using the following command:
ng serve
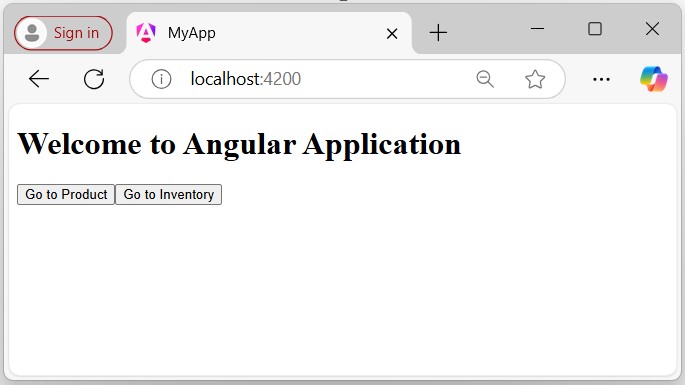
Step 11: Navigate to http://localhost:4200/ in your browser to see the first view of the application as follows:
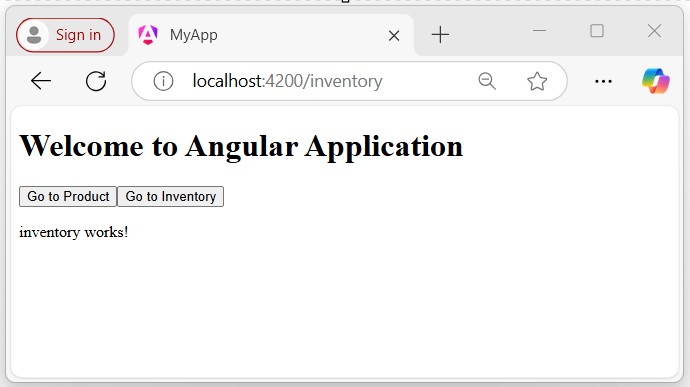
Click the Go to Inventory button to navigate the Inventory Page as follows:
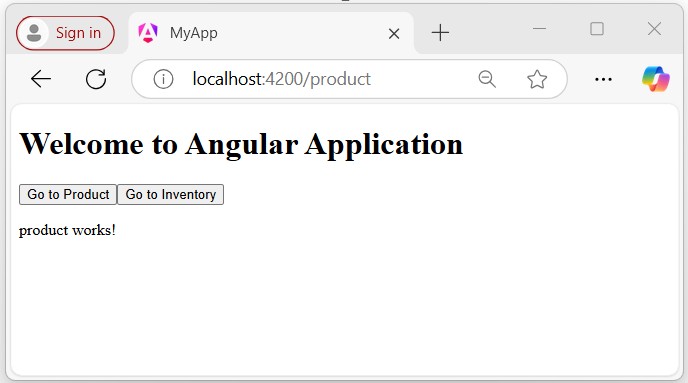
Click the Go to Product button, you will get the following output which takes you to the Products page.
Leave a Reply